
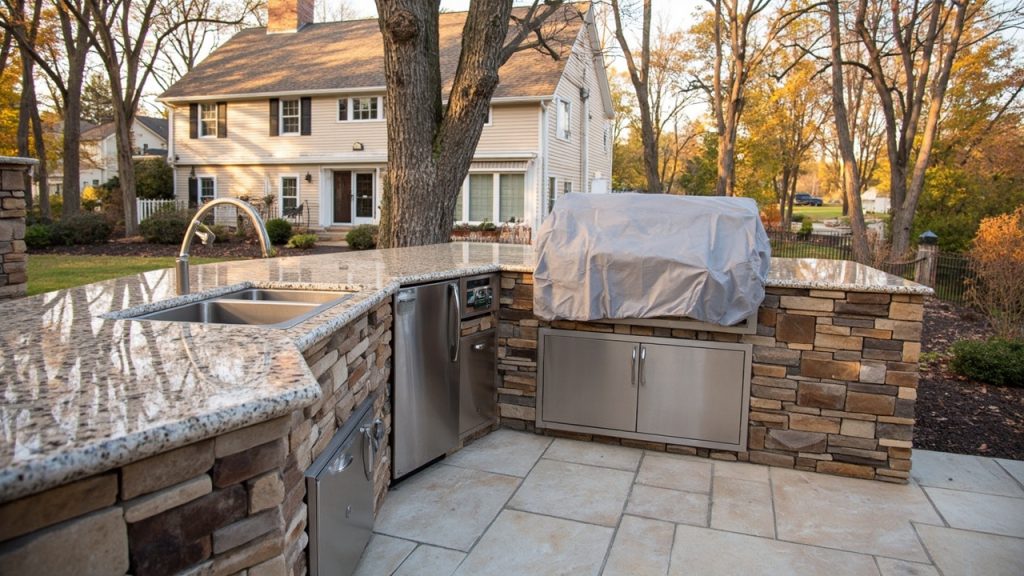
Michigan Winters Don’t Give Your Outdoor Kitchen a Warning
Plymouth and Northville homeowners have invested serious money into outdoor kitchens. Granite countertops, built-in grills, ice makers, dedicated water lines. When a Michigan winter hits those components wrong, the result isn’t just a cracked pipe. It’s standing water inside cabinet bases, rotted wood framing, and mold colonies growing behind stainless steel panels before the snow even melts.
Southeast Michigan sits in USDA Hardiness Zone 6, which sounds manageable until you remember that Metro Detroit regularly sees overnight lows in the single digits from December through February. The freeze-thaw cycle here is particularly punishing. A warm afternoon in late October followed by a 20-degree overnight is all it takes to split a water line that you forgot to drain.
This guide covers the full winterization process for outdoor kitchens in the Plymouth, Northville, and greater Metro Detroit area. It’s written from the perspective of a water damage restoration team that spends every spring dealing with the consequences of skipped steps.
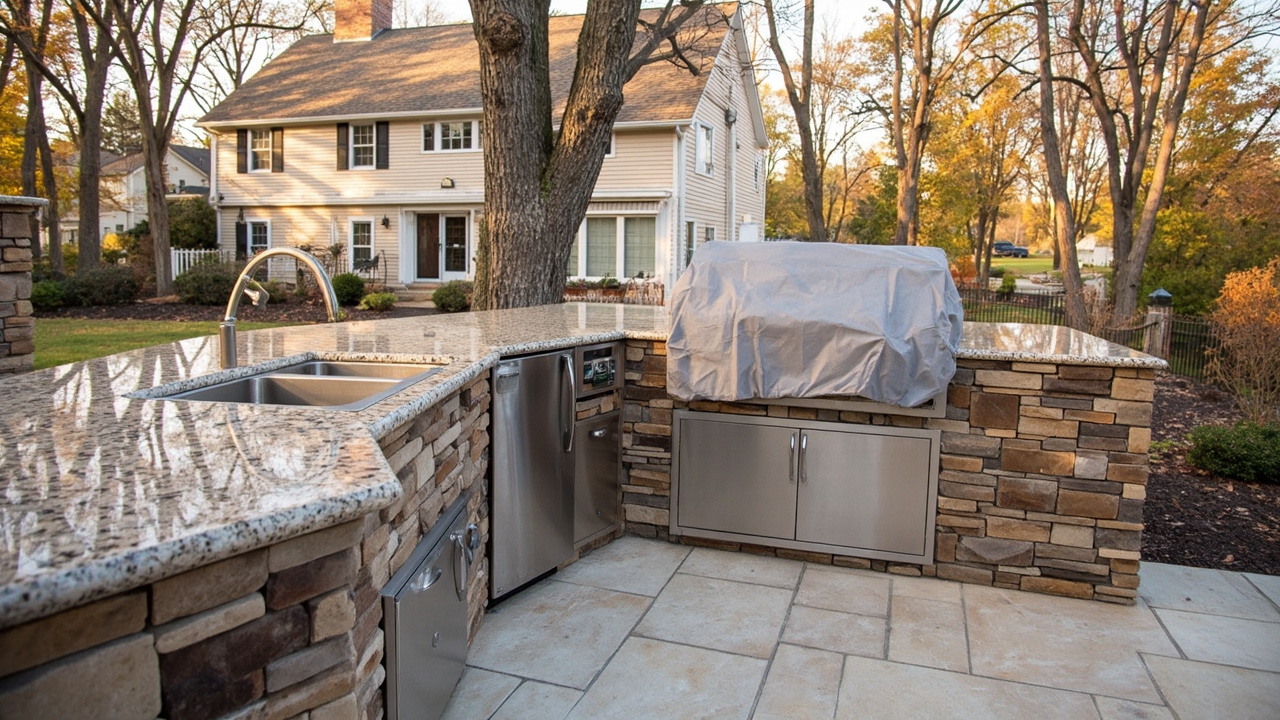
Why the Great Lakes Climate Hits Outdoor Plumbing Harder Than You Think
Water expands by about nine percent when it freezes. Inside a rigid copper or PEX pipe, that expansion has nowhere to go. The pipe cracks, and when temperatures rise above freezing again, water flows freely into whatever space surrounds that crack.
In an outdoor kitchen, that space is usually a base cabinet filled with electrical components, gas line connections, and wood framing. The damage from a single burst line can spread across multiple materials before you notice anything. By the time you fire up the grill in April, you may already have a mold problem that’s been developing since January.
Plymouth and surrounding communities like Canton Township and Livonia also deal with road salt contamination in snowmelt. That brine works its way into granite seams, concrete countertop surfaces, and stainless steel fasteners. Without proper sealing in the fall, you’re compounding structural damage on top of the plumbing risk.
The first hard freeze in Detroit typically arrives between late October and mid-November. That window is your deadline. Don’t wait until Thanksgiving weekend.
Step One — Shut Off and Drain Every Water Line
This is the single most important step. Everything else supports it.
Your outdoor kitchen water supply should have a dedicated shut-off valve somewhere inside your home, typically near where the line exits through the foundation or rim joist. Locate it, close it fully, and then open all outdoor faucets and dispensers to relieve pressure and begin gravity draining.
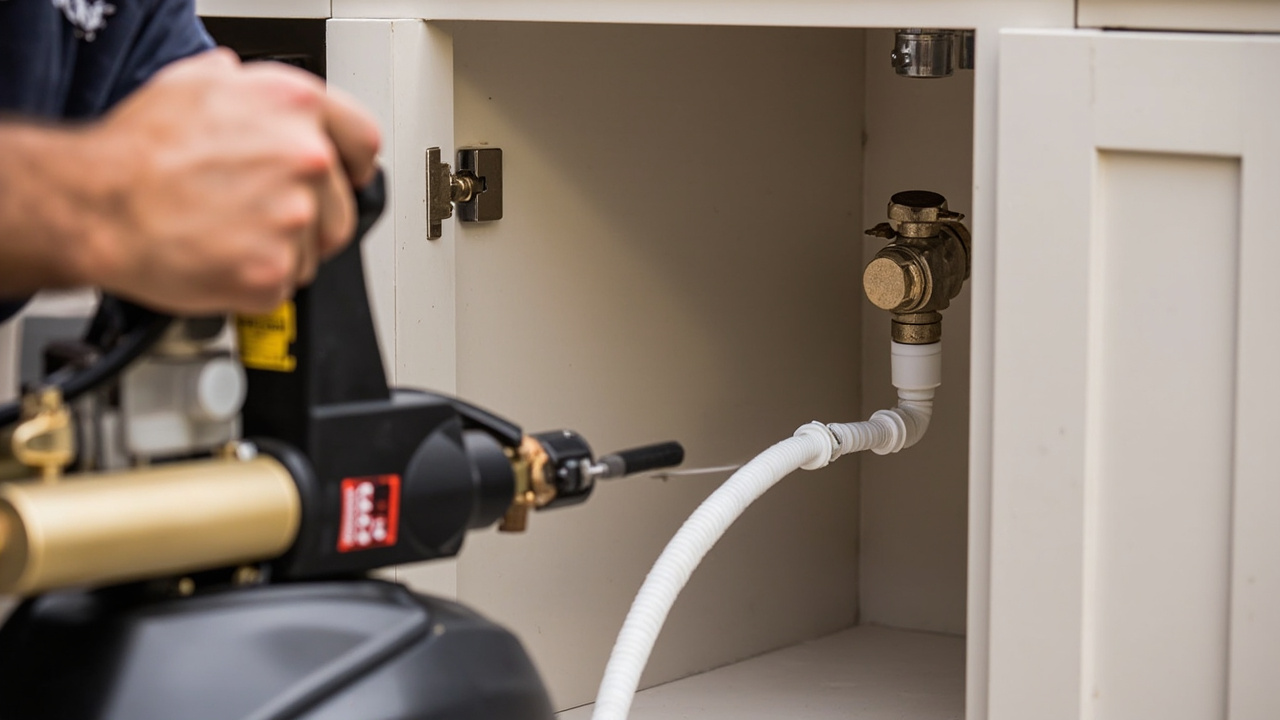
Gravity draining alone isn’t enough for horizontal pipe runs. You need to blow out the lines with compressed air. Use an air compressor set between 30 and 50 PSI for PEX piping. Copper lines can handle up to 50 PSI as well, but don’t exceed that range or you risk joint damage. Attach the compressor to a blowout adapter at the highest access point and work section by section toward the lowest drain point.
If your outdoor kitchen has a backflow preventer on the main supply line, drain and inspect that component separately. Backflow preventers have internal rubber components that degrade when water freezes inside them. A failed backflow preventer in spring creates a contamination risk, not just a water damage risk.
What to Check During the Line Blowout
- Confirm all supply valves are fully closed before disconnecting
- Blow each branch line individually, not just the main trunk
- Check the ice maker water supply line specifically — it’s small diameter and freezes fast
- Inspect visible PEX fittings for any existing micro-cracks from prior winters
- Pour a small amount of RV-grade antifreeze into any P-traps connected to an outdoor sink drain
- Remove and store any flexible braided supply lines inside if possible
Step Two — Appliance Winterization, Starting With the Ice Maker
Ice makers are the number one source of spring water damage calls we respond to in the Plymouth and Northville area. The supply line is thin, often overlooked, and almost always left full of water. When it bursts inside a sealed cabinet base, that water has no outlet and saturates the wood substrate completely.
To winterize an ice maker correctly, shut off the dedicated supply valve, disconnect the water line, and use a turkey baster or small vacuum to remove any remaining water from the inlet. Run the ice maker through one last cycle to clear the internal lines, then unplug it entirely. Leave the door or lid propped open a quarter inch to allow airflow and prevent interior moisture buildup.
For outdoor refrigerators, the process is similar. Empty and clean the interior, disconnect power, and prop the door open slightly. Do not leave food or beverages inside during winter storage. The door gaskets on sub-zero rated outdoor fridges are designed for cold, not for frozen-solid conditions over four months.
Built-in grills need the burner ports cleared of any debris and moisture, the grease trap emptied and cleaned, and a fitted cover installed. Even stainless steel grills develop surface oxidation when exposed to Michigan snow and road salt without protection.
Step Three — Sealing Countertops and Protecting Cabinetry
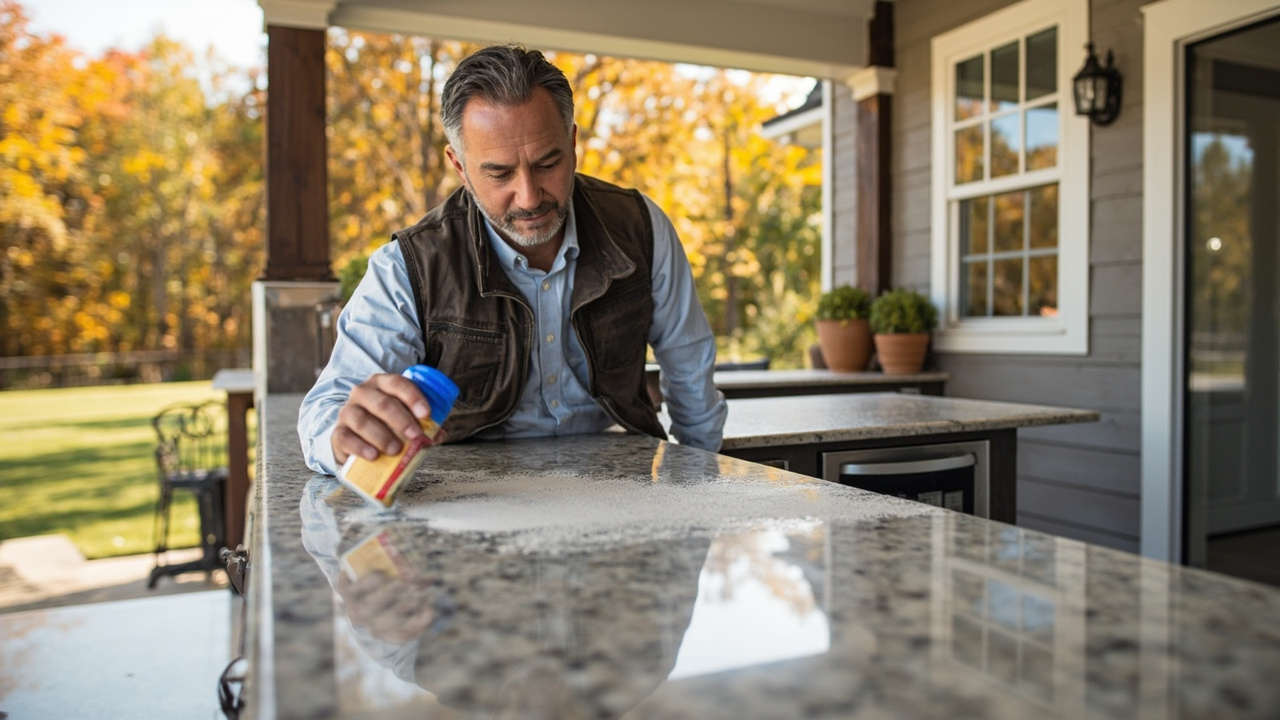
Granite countertops in outdoor kitchens need to be resealed every fall. Use a penetrating stone sealer rated for exterior use. Apply it to a clean, dry surface when temperatures are still above 50 degrees. Once temperatures drop below that, the sealer won’t cure properly and won’t bond to the stone.
Concrete countertops require a film-forming sealant rather than a penetrating sealer. Reapply a water-based polyurethane or acrylic coating specifically labeled for outdoor concrete. Pay attention to any seams or edge joints where water can pool.
Polymer-based and PVC outdoor cabinetry handles Michigan winters well on its own, but wood-framed cabinet bases are a different story. Inspect the base frame for any existing moisture damage before winter. If you find soft spots or discoloration, address that now. Sealing over compromised wood traps moisture inside and accelerates rot and mold growth.
| Countertop Material | Recommended Sealant Type | Application Timing | Reapplication Frequency |
|---|---|---|---|
| Granite | Penetrating stone sealer (exterior rated) | Before first freeze, above 50 degrees F | Annually in fall |
| Concrete | Film-forming acrylic or polyurethane | Before first freeze, dry surface required | Annually in fall, touch up in spring |
| Porcelain tile | Grout sealer for joints, none for tile surface | Dry weather, above 45 degrees F | Every one to two years |
| Stainless steel | Marine-grade stainless protectant | Before winter cover installation | Every fall and spring |
Step Four — Covers, Wraps, and Physical Protection
A fitted weatherproof cover for the entire outdoor kitchen island is worth the investment. Look for covers made from solution-dyed polyester or marine-grade canvas with secured tie-down straps. Avoid covers that trap moisture against surfaces. Vented covers are the better choice in Metro Detroit’s climate because they allow condensation to escape while blocking precipitation.
For any exposed pipe segments that couldn’t be fully drained, use foam pipe insulation rated for outdoor use and wrap them with weatherproof tape. This isn’t a substitute for draining, but it adds a buffer against a sudden temperature drop in October before you’ve completed the full winterization process.
If your outdoor kitchen is on a raised deck structure, check the area beneath for any utility connections or supply lines running through exposed framing. Plymouth’s building codes require outdoor plumbing to be installed in a way that allows for winterization, but older installations sometimes have lines in locations that make gravity draining difficult.
DIY Winterization vs. What Happens When You Skip a Step
Most homeowners in good physical condition with basic plumbing knowledge can complete outdoor kitchen winterization in an afternoon. The materials cost is modest. The compressor rental or purchase is the biggest expense, and most hardware stores in the Plymouth and Canton Township area carry blowout adapter kits.
The math changes dramatically when something goes wrong. A single burst water line in an enclosed outdoor kitchen base cabinet can saturate subfloor materials, wick into adjacent wall framing, and create conditions for mold growth within 48 to 72 hours. By spring, what started as a failed line has become a structural remediation job. Water damage restoration in Metro Detroit for an outdoor kitchen scenario can cost many times more than professional preventive winterization would have.
If you’re not comfortable with the line blowout process, specifically the compressed air steps, hire a plumber to handle that portion. The appliance and countertop steps are straightforward DIY work. The plumbing blowout is where inexperience creates risk.
| Winterization Task | DIY Feasibility | Risk if Skipped | When to Call a Pro |
|---|---|---|---|
| Water line blowout | Moderate — requires compressor and adapter | Burst pipes, cabinet flooding | If lines are complex or you’re unsure of PSI settings |
| Ice maker line disconnection | Easy — supply valve shutoff and disconnect | Freeze crack, interior water damage | If supply valve is stuck or inaccessible |
| Countertop sealing | Easy — product and application are straightforward | Surface cracking, water infiltration | If existing damage needs professional repair first |
| Backflow preventer inspection | Low — requires plumbing knowledge | Contamination, failed preventer in spring | Recommended to always use a plumber for this |
| Cabinet base moisture inspection | Moderate — requires knowing what to look for | Hidden rot, trapped mold growth over winter | If soft spots or discoloration found — call restoration |
What to Inspect in Spring Before You Turn Anything Back On
Spring inspection is just as important as fall winterization. Before you reconnect any water lines or plug in appliances, walk through this sequence.
Open all cabinet base doors and inspect the interior surfaces and framing. Look for any staining, soft spots in the wood, or visible mold growth. Even a small amount of surface mold inside a sealed outdoor cabinet base signals a moisture problem that needs to be addressed before you start using the space again. If you see mold, read about why bleach won’t solve a mold problem before grabbing a spray bottle.
Inspect all water lines visually before reconnecting supply. Look for any bulging, discoloration, or obvious cracks in PEX tubing and at all compression or crimp fittings. Turn the main supply back on slowly and check every connection point for drips before running any appliance.
If you do discover water damage from a freeze event that occurred during the winter, document everything with photos before touching anything. This matters significantly if you need to file an insurance claim. Understanding how to get your Detroit home insurance to pay for water restoration starts with proper documentation at the moment of discovery.
For homeowners in Corktown or other Detroit neighborhoods with older construction, indoor plumbing that connects to outdoor kitchen supply lines can also be affected. If your spring inspection reveals water damage that extended inside the home, review the process for filing a successful water damage insurance claim before starting any repairs.
Hardwood Decking and Flooring Adjacent to Outdoor Kitchens
Many Plymouth and Northville outdoor kitchens are installed on or adjacent to hardwood deck surfaces, or the outdoor kitchen is near a door transition that leads to hardwood interior floors. A burst pipe or spring thaw leak near these areas creates secondary damage risk that extends well beyond the outdoor kitchen itself.
Water that enters a hardwood floor assembly through an exterior transition can cause cupping, buckling, and permanent staining. The process for saving hardwood floors after a water leak depends heavily on how quickly the moisture is addressed. Time is the critical variable. The longer saturated wood sits, the higher the chance of irreversible damage.
A Simple Fall Checklist Before the First Plymouth Freeze
Complete these tasks before mid-October to stay ahead of the first hard freeze. Plymouth’s freeze risk starts in late October, but early completion gives you time to catch anything you missed.
- Locate and close the dedicated outdoor kitchen water shut-off valve
- Open all outdoor faucets and drain valves to begin gravity draining
- Blow out all water lines with a compressor at 30 to 50 PSI
- Disconnect and drain the ice maker supply line
- Run the ice maker through a final cycle then unplug it
- Empty, clean, and prop open the outdoor refrigerator
- Empty and clean the grease trap on the built-in grill
- Inspect cabinet base interiors for existing moisture or soft spots
- Apply countertop sealant appropriate to the surface material
- Apply stainless steel protectant to grill surfaces and hardware
- Inspect and clear the backflow preventer (hire a plumber if needed)
- Add RV antifreeze to any P-traps in the outdoor sink drain
- Install fitted, vented weatherproof covers over all components
- Insulate any exposed pipe segments with foam pipe insulation
- Document the condition of all components with photos for insurance purposes
When Water Damage Has Already Happened
If you’re reading this after discovering a burst line or spring flooding in your outdoor kitchen, stop using the space and address moisture removal immediately. The EPA’s guidance on mold and moisture is clear that mold begins developing within 24 to 48 hours in wet building materials. An outdoor kitchen cabinet base is a perfect environment for rapid mold growth given its enclosed nature and organic wood components.
If water has migrated into any adjacent interior space or onto flooring, assess whether your carpet or soft flooring has been affected. The decision between restoration and replacement for wet flooring materials depends on the extent of saturation and the time elapsed. For guidance on that specific situation in the Metro Detroit area, review the details on whether wet carpet can be saved or needs to go.
Outdoor kitchen water damage restoration follows the same IICRC Standards used for interior water damage. Structural drying, moisture mapping, and antimicrobial treatment apply to the outdoor environment just as they do inside the home. The difference is that outdoor kitchen components are often more expensive to replace than standard interior finishes.
If you have any questions about outdoor kitchen winterization in Plymouth, Northville, Canton Township, or anywhere in the Metro Detroit area, reach out to our team. We do this work year-round and respond to water damage emergencies across Southeast Michigan every spring. Getting ahead of the problem now is always the better outcome.
{
“@context”: “https://schema.org”,
“@type”: “BlogPosting”,
“headline”: “How to Keep Your Plymouth Outdoor Kitchen From Bursting a Pipe This Winter”,
“description”: “Protect your Plymouth outdoor kitchen from burst pipes this winter. Step-by-step winterization guide from Metro Detroit water damage restoration experts.”,
“wordCount”: 2332,
“datePublished”: “2026-07-15T07:21:00.000Z”,
“dateModified”: “2026-07-15T07:21:00.000Z”,
“inLanguage”: “en-US”,
“mainEntityOfPage”: {
“@type”: “WebPage”,
“@id”: “https://ironwoodwaterdamagerestorationdetroit.com”
},
“publisher”: {
“@type”: “LocalBusiness”,
“name”: “Ironwood Water Damage Restoration Detroit”,
“url”: “https://ironwoodwaterdamagerestorationdetroit.com”
},
“author”: {
“@type”: “Organization”,
“name”: “Ironwood Water Damage Restoration Detroit”,
“url”: “https://ironwoodwaterdamagerestorationdetroit.com”
},
“image”: {
“@type”: “ImageObject”,
“url”: “https://ironwoodwaterdamagerestorationdetroit.com/wp-content/uploads/2026/03/how-to-prevent-your-plymouth-outdoor-kitchen-from-1.jpg”
}
}
{
“@context”: “https://schema.org”,
“@type”: “LocalBusiness”,
“name”: “Ironwood Water Damage Restoration Detroit”,
“url”: “https://ironwoodwaterdamagerestorationdetroit.com”,
“address”: {
“@type”: “PostalAddress”,
“addressLocality”: “Detroit”
},
“areaServed”: {
“@type”: “City”,
“name”: “Detroit”
}
}
{
“@context”: “https://schema.org”,
“@type”: “BreadcrumbList”,
“itemListElement”: [
{
“@type”: “ListItem”,
“position”: 1,
“name”: “Home”,
“item”: “https://ironwoodwaterdamagerestorationdetroit.com”
},
{
“@type”: “ListItem”,
“position”: 2,
“name”: “Blog”,
“item”: “https://ironwoodwaterdamagerestorationdetroit.com/blog”
},
{
“@type”: “ListItem”,
“position”: 3,
“name”: “How to Keep Your Plymouth Outdoor Kitchen From Bursting a Pipe This Winter”
}
]
}
{
“@context”: “https://schema.org”,
“@type”: “Service”,
“serviceType”: “Water Damage Restoration”,
“provider”: {
“@type”: “LocalBusiness”,
“name”: “Ironwood Water Damage Restoration Detroit”,
“url”: “https://ironwoodwaterdamagerestorationdetroit.com”
},
“areaServed”: {
“@type”: “City”,
“name”: “Detroit”
},
“description”: “Protect your Plymouth outdoor kitchen from burst pipes this winter. Step-by-step winterization guide from Metro Detroit water damage restoration experts.”
}